Devil’s Peak Hiking Trail
Devil’s Peak Hiking Trail
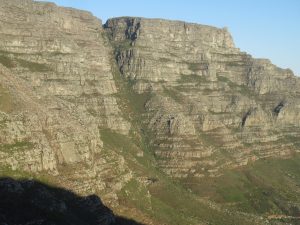
As a Capetonian, or anyone else really who visits the Mother City, one cannot escape the presence of Table Mountain. If you talk to anyone that doesn’t live in Cape Town they will tell you that the mountain has a profound effect on the behaviour of the citizens who live in its shadow. It’s almost like a powerful mood stabiliser that creates an ‘easy going’ population who are never in a hurry to do anything and who don’t work too hard doing it either.
I usually have a great comeback line ready in answer to these jealous sounding descriptions of the Cape Town locals. It’s obviously completely untrue, it’s just a pity I nodded off just now and cannot remember what I was going to say in reply. I’ll think of something clever to say tomorrow.
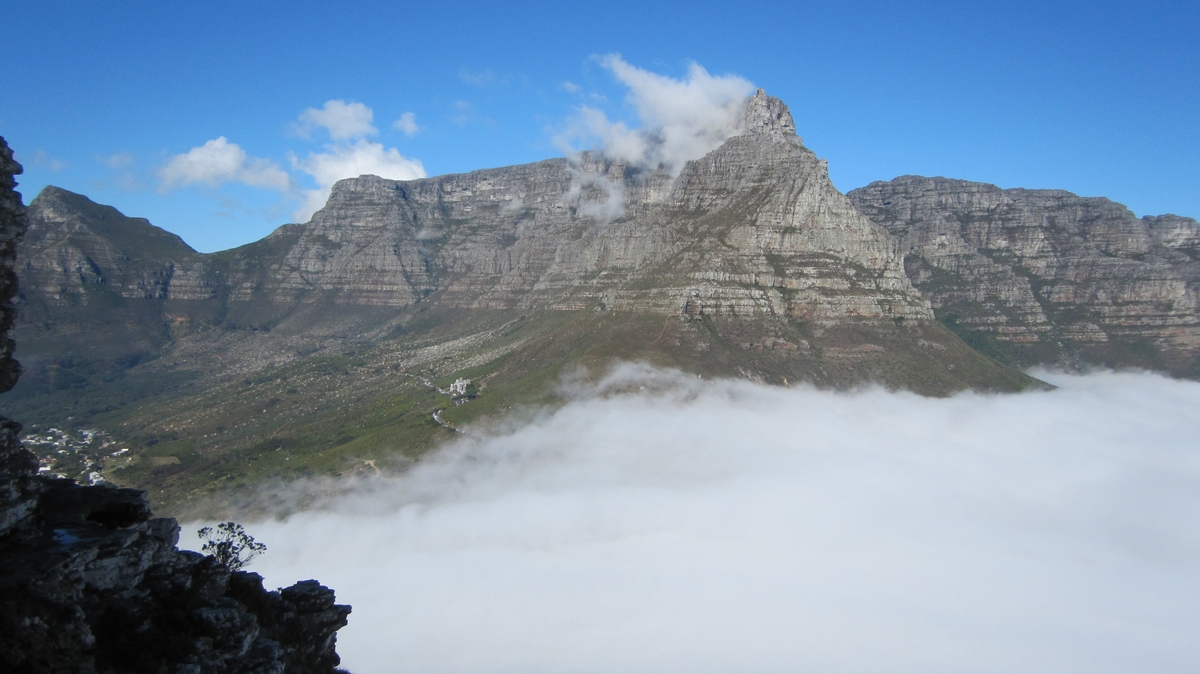
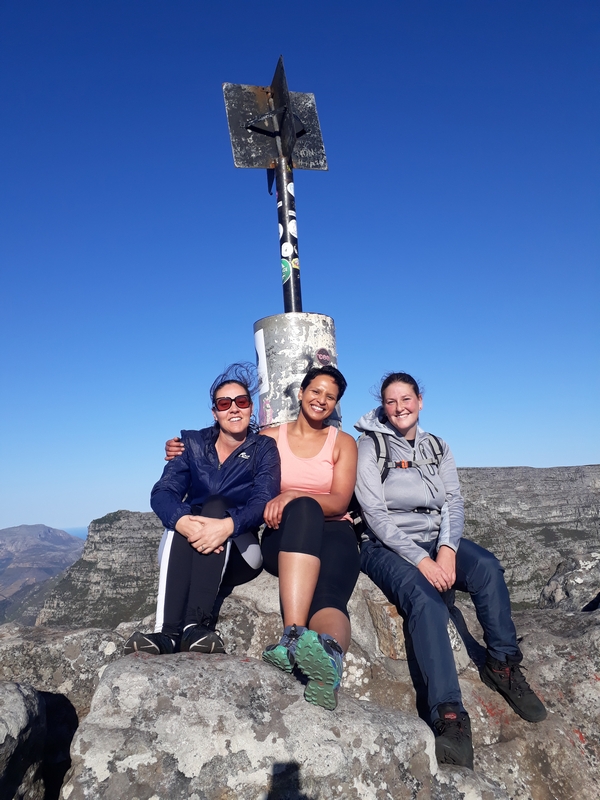
Getting back to the business at hand, on Sunday 22 July 2018, Belinda, Nina and I and some hiking friends of ours decided to get off our respective couches and hike up Devil’s Peak. We travelled the 21 kilometres into the city bowl without incident. For those of you who don’t know where Devil’s Peak is. It’s the pointy bit on the left hand side of Table Mountain as you look at it from the front.
A brief history of Devil’s Peak
The next question that usually comes to mind is why on earth would someone call it Devil’s Peak? I hear you already shouting out the answer! Something along the lines of a Dutch pirate called Jan van Hunks who used to escape the continual complaints of his wife by taking refuge in the mountains where he would smoke his pipe in peace. The story continues with the visit one day from a mysterious stranger who challenged Van Hunks to a ‘smoke off’ and lost. The stranger turned out to be the Devil himself, who in a fit of anger, vapourised poor Van Hunks. To this day whenever the clouds come over Table Mountain, known locally as the ‘table cloth’, it is said that Van Hunks and the Devil were at it again with their pipes! If you are nodding your head in agreement, you would be wrong! Yes, really really! As popular as this tale may be, it doesn’t appear to be historically accurate. Ha Ha. Take some time to read this post and impress your friends with the true meaning behind the naming of Devil’s Peak!
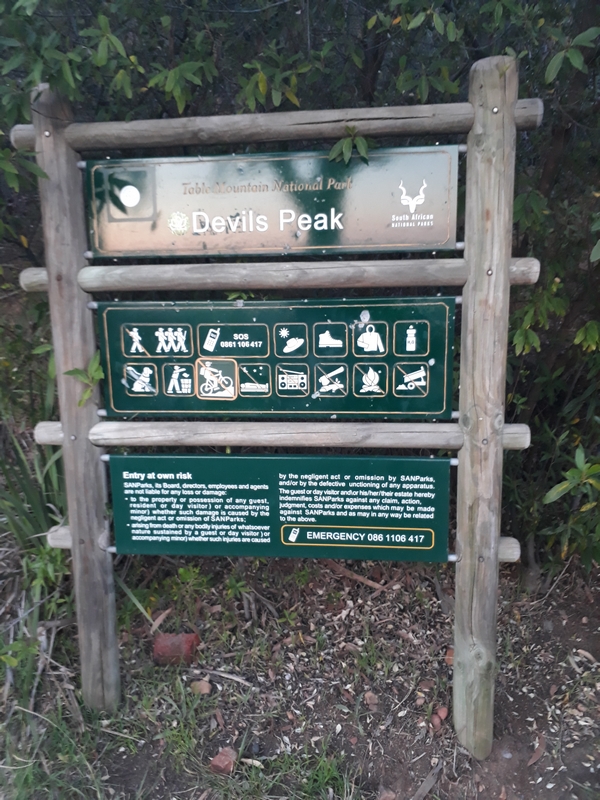
How to get there
The start of the trail is located on Tafelberg Road, approximately 2.5 km past the Lower Cable Station. It is just after the start of the Platteklip Gorge Trail, which is infinitely more popular than the Devil’s Peak trail (we aren’t sure why though…). The upside to this trail is that there’s no problem with parking. You can park anywhere along Tafelberg Road.
The GPS co-ordinates of the start are as follows: S 33° 57′ 18.7″ E 018° 25’28.1″
The Speedy Review [tl;dr]
So, you feel like going above 1000m altitude, but can’t be bothered with the crowds of people on Table Mountain. Why not try Devil’s Peak?
The views are spectacular, it’s a great, strenuous climb and if you are relatively fast, you can be up and down in just over 3 hours (we did in in 4, but we took lots of breaks and the wind was howling).
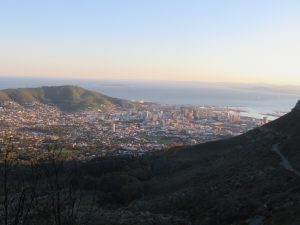
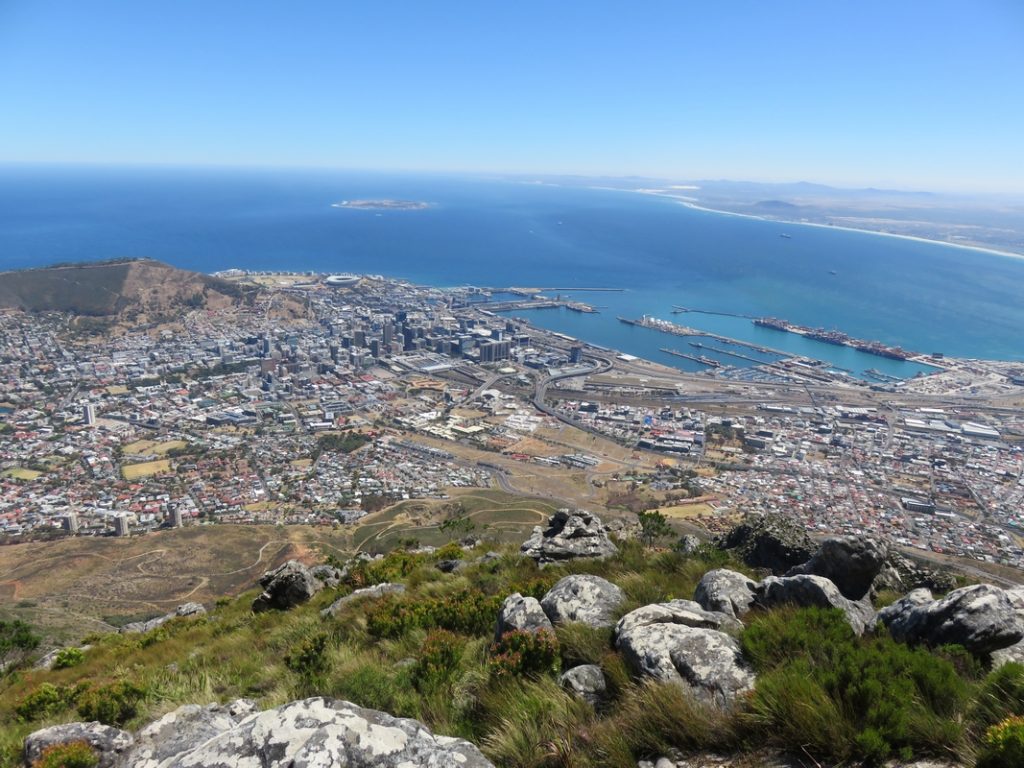
Devil’s Peak is one of our favourite hikes starting along Tafelberg Road. The panoramic view of the city is spectacular, and you get to see Table Mountain from a different angle. It’s dog and older child friendly, with a well-maintained trail. The child should be 10 years and older and must enjoying walking.


Trail Ninometer
![]()
Nina rated this trail 4/5 paw prints. She enjoyed the exercise and got to meet nearly 10 other friendly dogs on the way up and down the mountain. Nina doesn’t like the heat so we had to start and end quite early in the day.
The Nitty Gritty
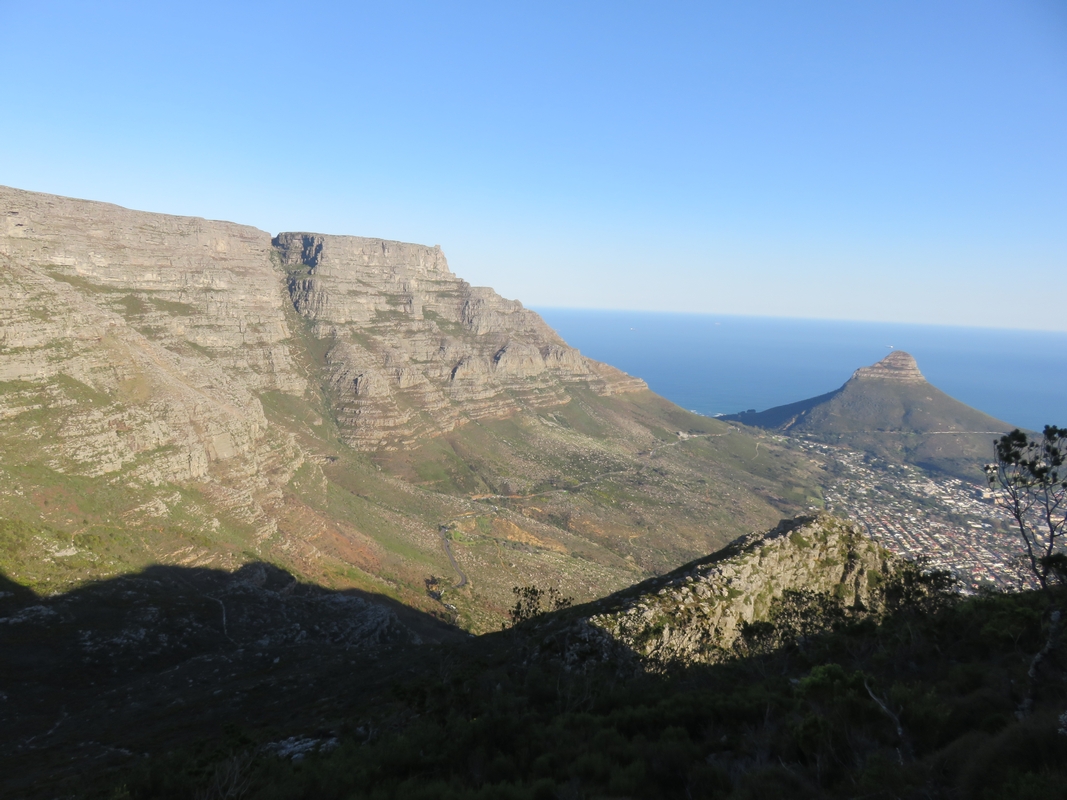
We have hiked this trail several times before compiling this blog post. There are several different ways up to the top of Devil’s Peak, but we decided to take the Tafelberg Road route, via ‘the saddle’. The ‘saddle’ is the flat section between Table Mountain and Devil’s Peak. The photos in this blog come from a few of our hikes, but the account below only relates to today’s hike.
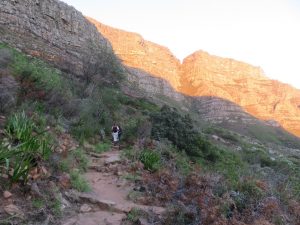
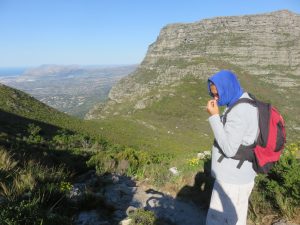
We started hiking at about 07h50. It was a relatively warm winter’s day with a strong gusting wind blowing. I was really concerned about what the conditions would be like on the saddle! Knowing the reputation of the mountain as being dangerous and unforgiving, we carried a few day packs with us containing about litre and a half of water each, a couple of warm tops each, eggs, carrots, snacks, fruit, a first aid kit, a small camera, a peak cap or buff each and sun screen. And food, water and snacks for Nina.
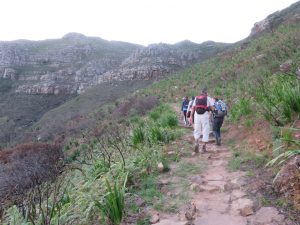
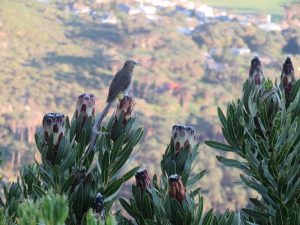
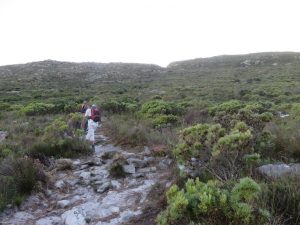
The trail started with a slight incline up a relatively flat rocky path. The path zigzagged up the side of the mountain with silver plaques indicating the directions you needed to take to the top. This was the kind of hike where you needed to stop every now and again and look behind you. You have magnificent views of Table Mountain, Lion’s Head, Signal Hill and the greater city bowl.
The path was generally easy to follow and was marked only by the silver plaques indicating with directional arrows which way to go. There were no distance markers on this trail.

At about 08h40, we reached a mountain stream where Nina was able to have a drink of water and cool her paws off. Just after the stream, the path splits. We took the right path as the left turn takes you to Oppelskop. After we took the right turn, there was quite a lot of water on the path, with a small stream flowing nearby.
Soon thereafter we reached the sign indicating straight ahead for Devil’s Peak and right to Newlands Ravine. There are no more silver plaques for the rest of the trail that goes to the top of Devil’s Peak. I found this extremely odd for such a popular trail. Not only are there no further trail markers, but there are several viable paths that intersect with the trail which can be very confusing. If you are walking in a party of hikers just remember that whichever trail you do decide to take, you must all take the same path. The weather can change very quickly on the mountain and you can easily get separated and then lost! The mist does tend to appear out of nowhere cutting visibility down to a few meters. Definitely not the ideal conditions to be out searching for your fellow hikers while also trying to get down off the mountain. We found this equally important when fighting against the strong winds on the mountainside.


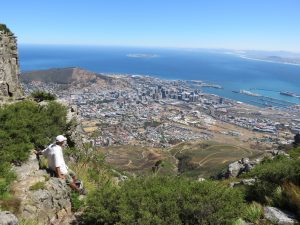
That stretch of the trail, from the last silver directional plaque to the saddle, was very steep. The zigzag trail progressively narrows in width and eventually you end up going straight up the mountain. A few members of our group found this section physically demanding. There are certain sections that require some light scrambling over the larger boulders and other sections which are mostly sand and it is difficult to get a proper grip with your shoes. Hiking poles helped with this to get a little bit of extra leverage whilst ascending this steep section.
Something else that you will need to be acutely aware of is that there are channels or pockets of strong icy cold winds that blow on certain sections of the mountain. After about 01h20m into this hike (09h10), we reached the saddle. Even before reaching the saddle we were being buffeted by strong icy cold winds that dropped the temperature from about 20 degrees Celsius to about 10 degrees Celsius. I imagined for a second what it would be like to spend an extended period of time in that wind. It wouldn’t take too long before you would begin showing signs of hypothermia. The saddle also affords you a view of the southern suburbs to your right hand side. We decided to stop here for a short break to take some photos and drink some water. After a while, Nina became quite impatient so we carried on up the mountain to the summit.
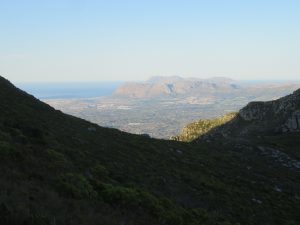


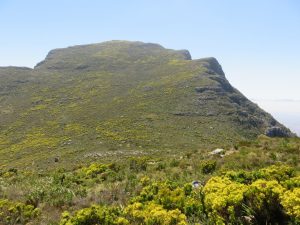
What made this trail a little different than most other hikes on the mountain was that, for most of the hike, you cannot see your end point, which made orientating yourself quite challenging. What helped me was to stop every now and then, turn around and use Table Mountain and Lion’s Head as reference markers to orientate myself. You should always be heading up and away from Lion’s Head. There are no downhills on the way up, if that makes any sense!
The last push from the saddle to the summit is also not an easy stretch. Mentally you will need to stay in the game until you reach the very top. Be aware that the first trig beacon that you will see as you approach from the saddle is not the summit, but you are nearly there. The summit is still a few minutes further on from that first trig beacon.
At about 09h43, we reached the first trig beacon. The wind was gusting so hard at that point that I was only able to take one or two photos before I was forced to move on towards the summit or risk becoming a para-glider without a parachute.

We reached the summit of Devil’s Peak at about 09h50, which meant that it had taken us about 2 hours to complete the ascent. This was a little slower than we had done it previously, but that was probably because we had been cautious in our approach, due to the strong winds. The elevation of Devil’s Peak is advertised as 1001 m. The GPS I was using fixed the elevation at its highest point at 999 m (#justsaying). We sat down in a relatively sheltered area just under the trig beacon and enjoyed our eggs, carrots, a packet of Big Corn Bites followed by an energy bar for dessert. Nina enjoyed a packet of Pedigree Vital Gravy with Beef & Vegetables washed down with a bowl of Aquelle Natural Spring (Still) water.
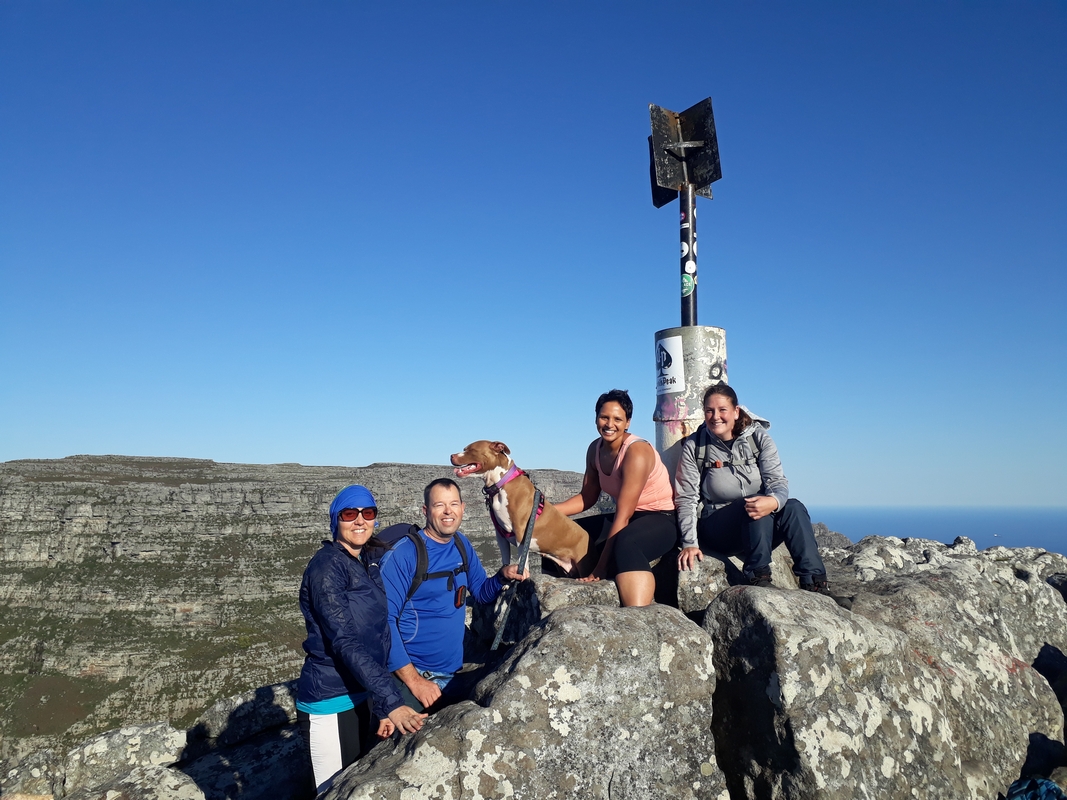
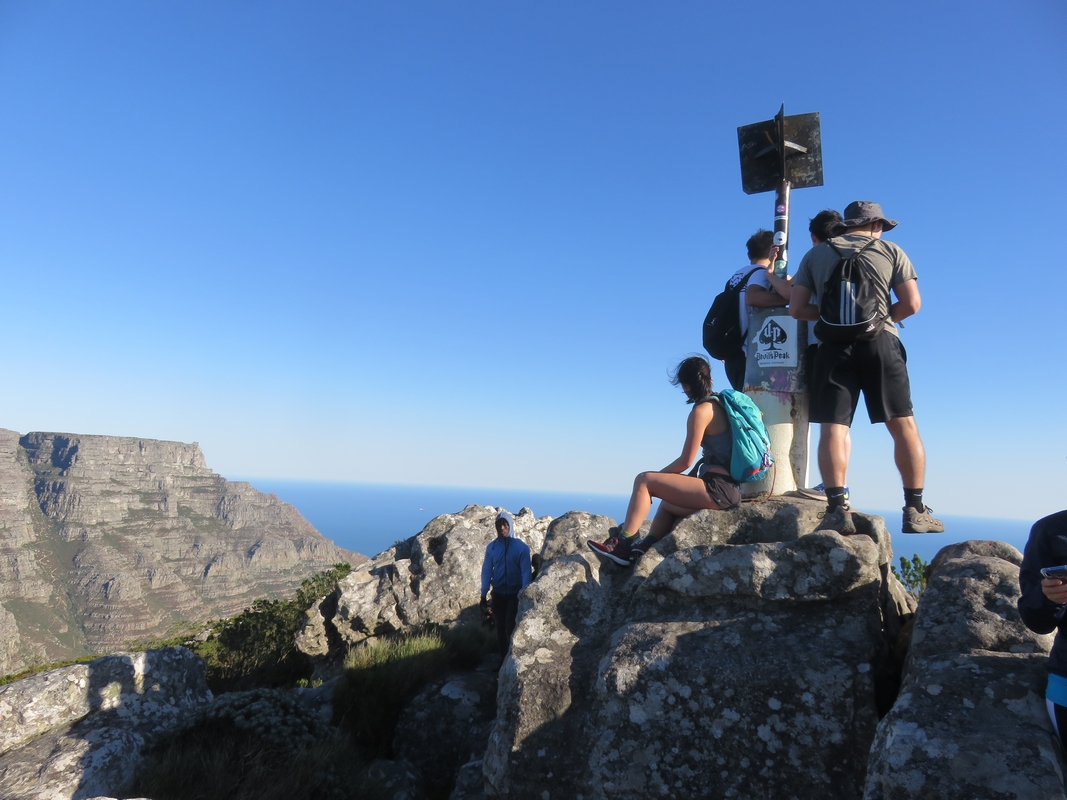
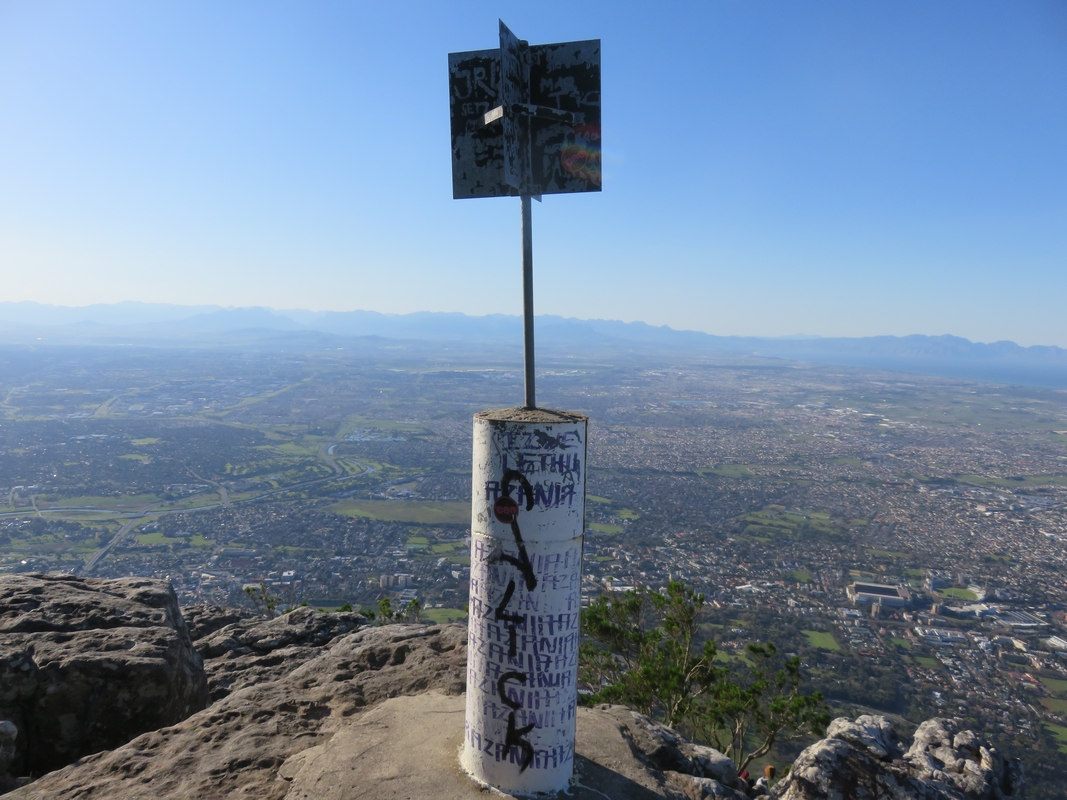
There was another trig beacon on the peak just below the highest point which also gave us a postcard image of the city below, including the northern suburbs and beyond. For some or other reason, that particular trig beacon drew the attention of a single ‘print media’ enthusiast. Perhaps it deserved higher praise than the other one.
The Stats – Ascent
The total hiking distance from Tafelberg Road to the Devil’s Peak summit was 2.8 km and it took us about 2 hours to complete.

We spent about 30 minutes at the summit and headed down at around 10h25. This time I had Nina with me because she was pulling too hard for Belinda to be able to handle safely on the descent.
Our return journey, near the top of the Peak, was quite tricky because the path was made up mostly of sand and small stones. Unless you are a trail runner or are possessed with the genes of a mountain goat, you should try and keep your speed down to avoid slipping and falling. 2.8 km can feel like an awfully long way if you have to carry someone down the mountain! Once you are back on the rocky path, the going becomes easier again. Once again, our hiking poles were vital piece of equipment on this descent, especially with the strong winds we experienced.
On the way down, we decided to take the scenic route with a few deviations from the standard route down. One would normally go back down the same way you had come up.


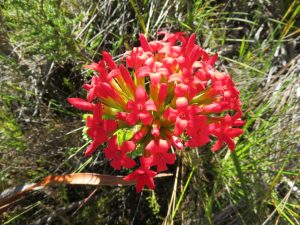
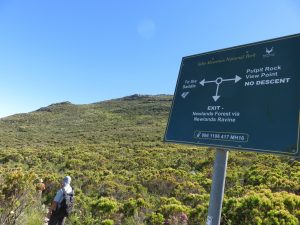
On reaching the first silver plaque on our way down (the last plaque on the way up), we turned left and walked along the path towards Newlands Ravine and the Pulpit Rock viewing point. That was an easy walk along a relatively flat path to the eastern edge of the mountain. The vegetation is quite overgrown in this area so be prepared for some scratched legs.
If you climb onto Pulpit Rock you can get to see parts of the northern and southern suburbs. Pulpit Rock sits at a modest elevation of 705 m, depending on which GPS device you believe! The view was definitely worth the extra 15 -20 minutes it added to our descent. The Newlands Ravine trail passes by this outcrop on the right hand side. The wind was far too strong for us to climb onto Pulpit Rock so we enjoyed the view from the safety of the trail. Looking straight at Pulpit Rock, you have the Dark Gully on the left hand side of Pulpit Rock and the Dark Gorge on the right. We have written a separate blog on the Dark Gorge Trail which you can read here.

We ended our morning hike at about 12h25, which left most of the day to relax and contemplate life in the most beautiful city in the world (actually, we went home and slept… Nina is still asleep).

The Stats – Descent
The total hiking distance from Devil’s Peak back to Tafelberg Road via the saddle and Pulpit Rock was 4.0 km and it took us 02h20m to complete, including a 30 minute break at the top.
The Stats – Overall Route
For those of you that are interested in more stats, here they are summarised for entire journey.
| QUICK HIKING STATS – OVERALL JOURNEY | |
| Total Walking Distance | 6.80 km |
| Max Moving Speed | 6.7 km/h |
| Total Moving Time | 01h16m |
| Average Moving Speed | 5.3 km/h |
| Overall Average Speed | 1.5 km/h |
| Total Time Taken | 04h20m |
Relive the Hike Video
I have also included the Relive video, based on the Strava track log for the route we took up and down Devils’s Peak, including the visit to the third trig beacon and Pulpit Rock. It gives you a pretty good idea of where you are in relation to Table Mountain and Lion’s Head. Watch it here.